When it comes to keeping your sneakers looking fresh and well-maintained, a proper washing routine is key. In this detailed guide, we’ll walk you through the step-by-step process of cleaning your sneakers to ensure they not only look great but also last longer.
Why Regular Sneaker Cleaning Matters
Preserving Aesthetic Appeal
The appearance of your sneakers speaks volumes about your style. Regular cleaning helps to maintain their original color and texture, keeping them looking as good as new.
Prolonging Lifespan
Proper cleaning doesn’t just enhance the appearance; it also contributes to the longevity of your sneakers. Removing dirt and grime prevents premature wear and tear, ensuring your favorite pair lasts for years.
The Essential Tools for Sneaker Cleaning
Soft Bristle Brush
Start by using a soft-bristle brush to gently remove loose dirt and debris from the surface of your sneakers without causing any damage.
Mild Soap or Detergent
Choose a mild soap or detergent to create a cleaning solution. Avoid harsh chemicals that might compromise the quality of the materials.
Microfiber Cloth
A microfiber cloth is ideal for wiping down your sneakers after cleaning. It helps to absorb excess moisture and leaves a streak-free finish.
Old Toothbrush
For those hard-to-reach areas and intricate details, an old toothbrush works wonders. It allows you to get into the nooks and crannies for a thorough clean.
Step-by-Step Sneaker Cleaning Guide
Step 1: Remove Laces and Insoles
Start by taking out the laces and insoles. This ensures that every part of your sneaker gets the attention it deserves during the cleaning process.
Step 2: Brush Off Loose Dirt
Using a soft bristle brush, gently brush off any loose dirt or debris from the surface of your sneakers. This prevents scratching during the deeper cleaning stages.
Step 3: Create a Cleaning Solution
Mix a small amount of mild soap or detergent with water to create a gentle cleaning solution. This ensures effective cleaning without causing damage to the materials.
Step 4: Scrubbing with Care
Dip the soft bristle brush into the cleaning solution and scrub the sneakers in circular motions. Pay extra attention to stained or soiled areas, ensuring a thorough clean.
Step 5: Detail Cleaning with Toothbrush
For detailed areas and stubborn stains, use an old toothbrush. The fine bristles help to dislodge dirt from seams and other intricate parts of your sneakers.
Step 6: Wipe Down with Microfiber Cloth
Once you’ve thoroughly cleaned your sneakers, use a microfiber cloth to wipe them down. This removes excess moisture and ensures a polished finish.
Step 7: Air Dry
Allow your sneakers to air dry naturally. Avoid using direct heat sources like hairdryers, as they can damage the materials and alter the shape of your shoes.
Maintaining Sneaker Hygiene: Tips and Tricks
Rotate Your Sneakers
Give your sneakers time to breathe by rotating them regularly. This prevents excessive wear on a single pair and allows each one to maintain its shape.
Store Them Properly
When not in use, store your sneakers in a cool, dry place. Avoid exposing them to direct sunlight or extreme temperatures, as this can cause materials to degrade over time.
Use Protective Sprays
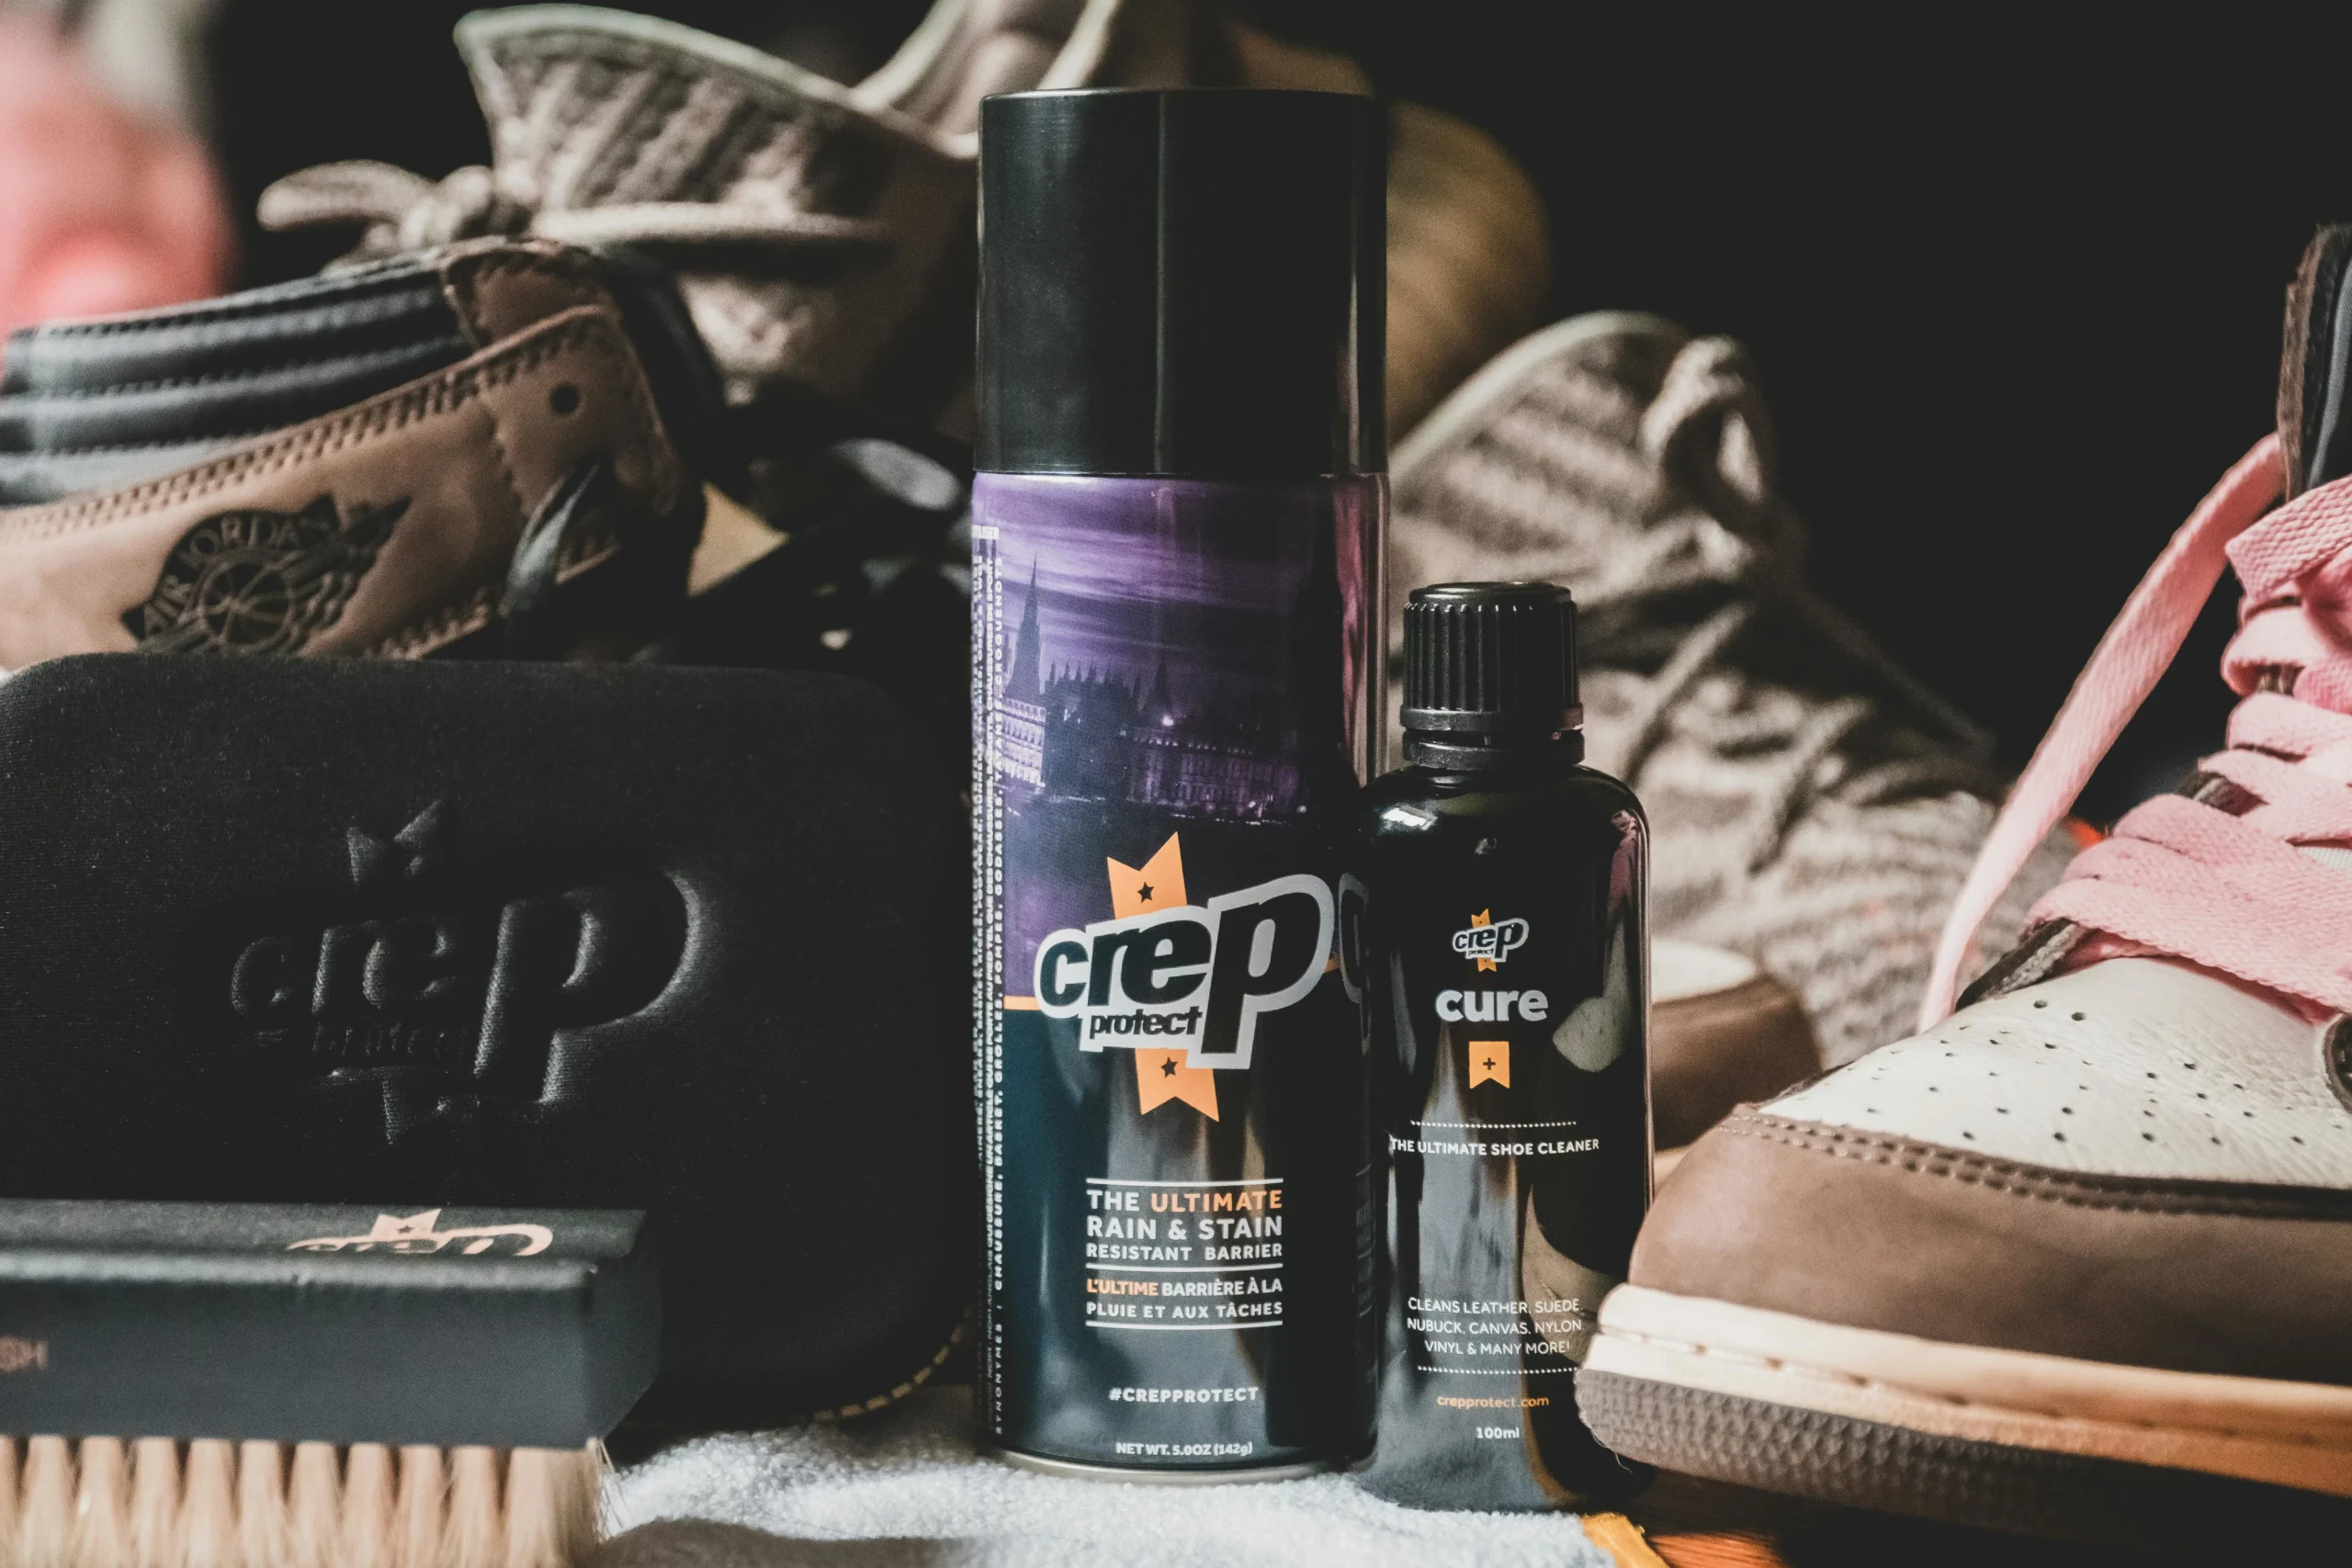
Consider applying a water and stain-repellent spray to protect your sneakers from the elements. This extra layer can make cleaning easier and extend the life of your favorite footwear.
Conclusion
Maintaining the cleanliness of your sneakers is not only about aesthetics but also about preserving the quality and lifespan of your beloved footwear. By following this comprehensive guide and integrating regular cleaning into your routine, you’ll ensure that your sneakers not only look pristine but also stand the test of time.


