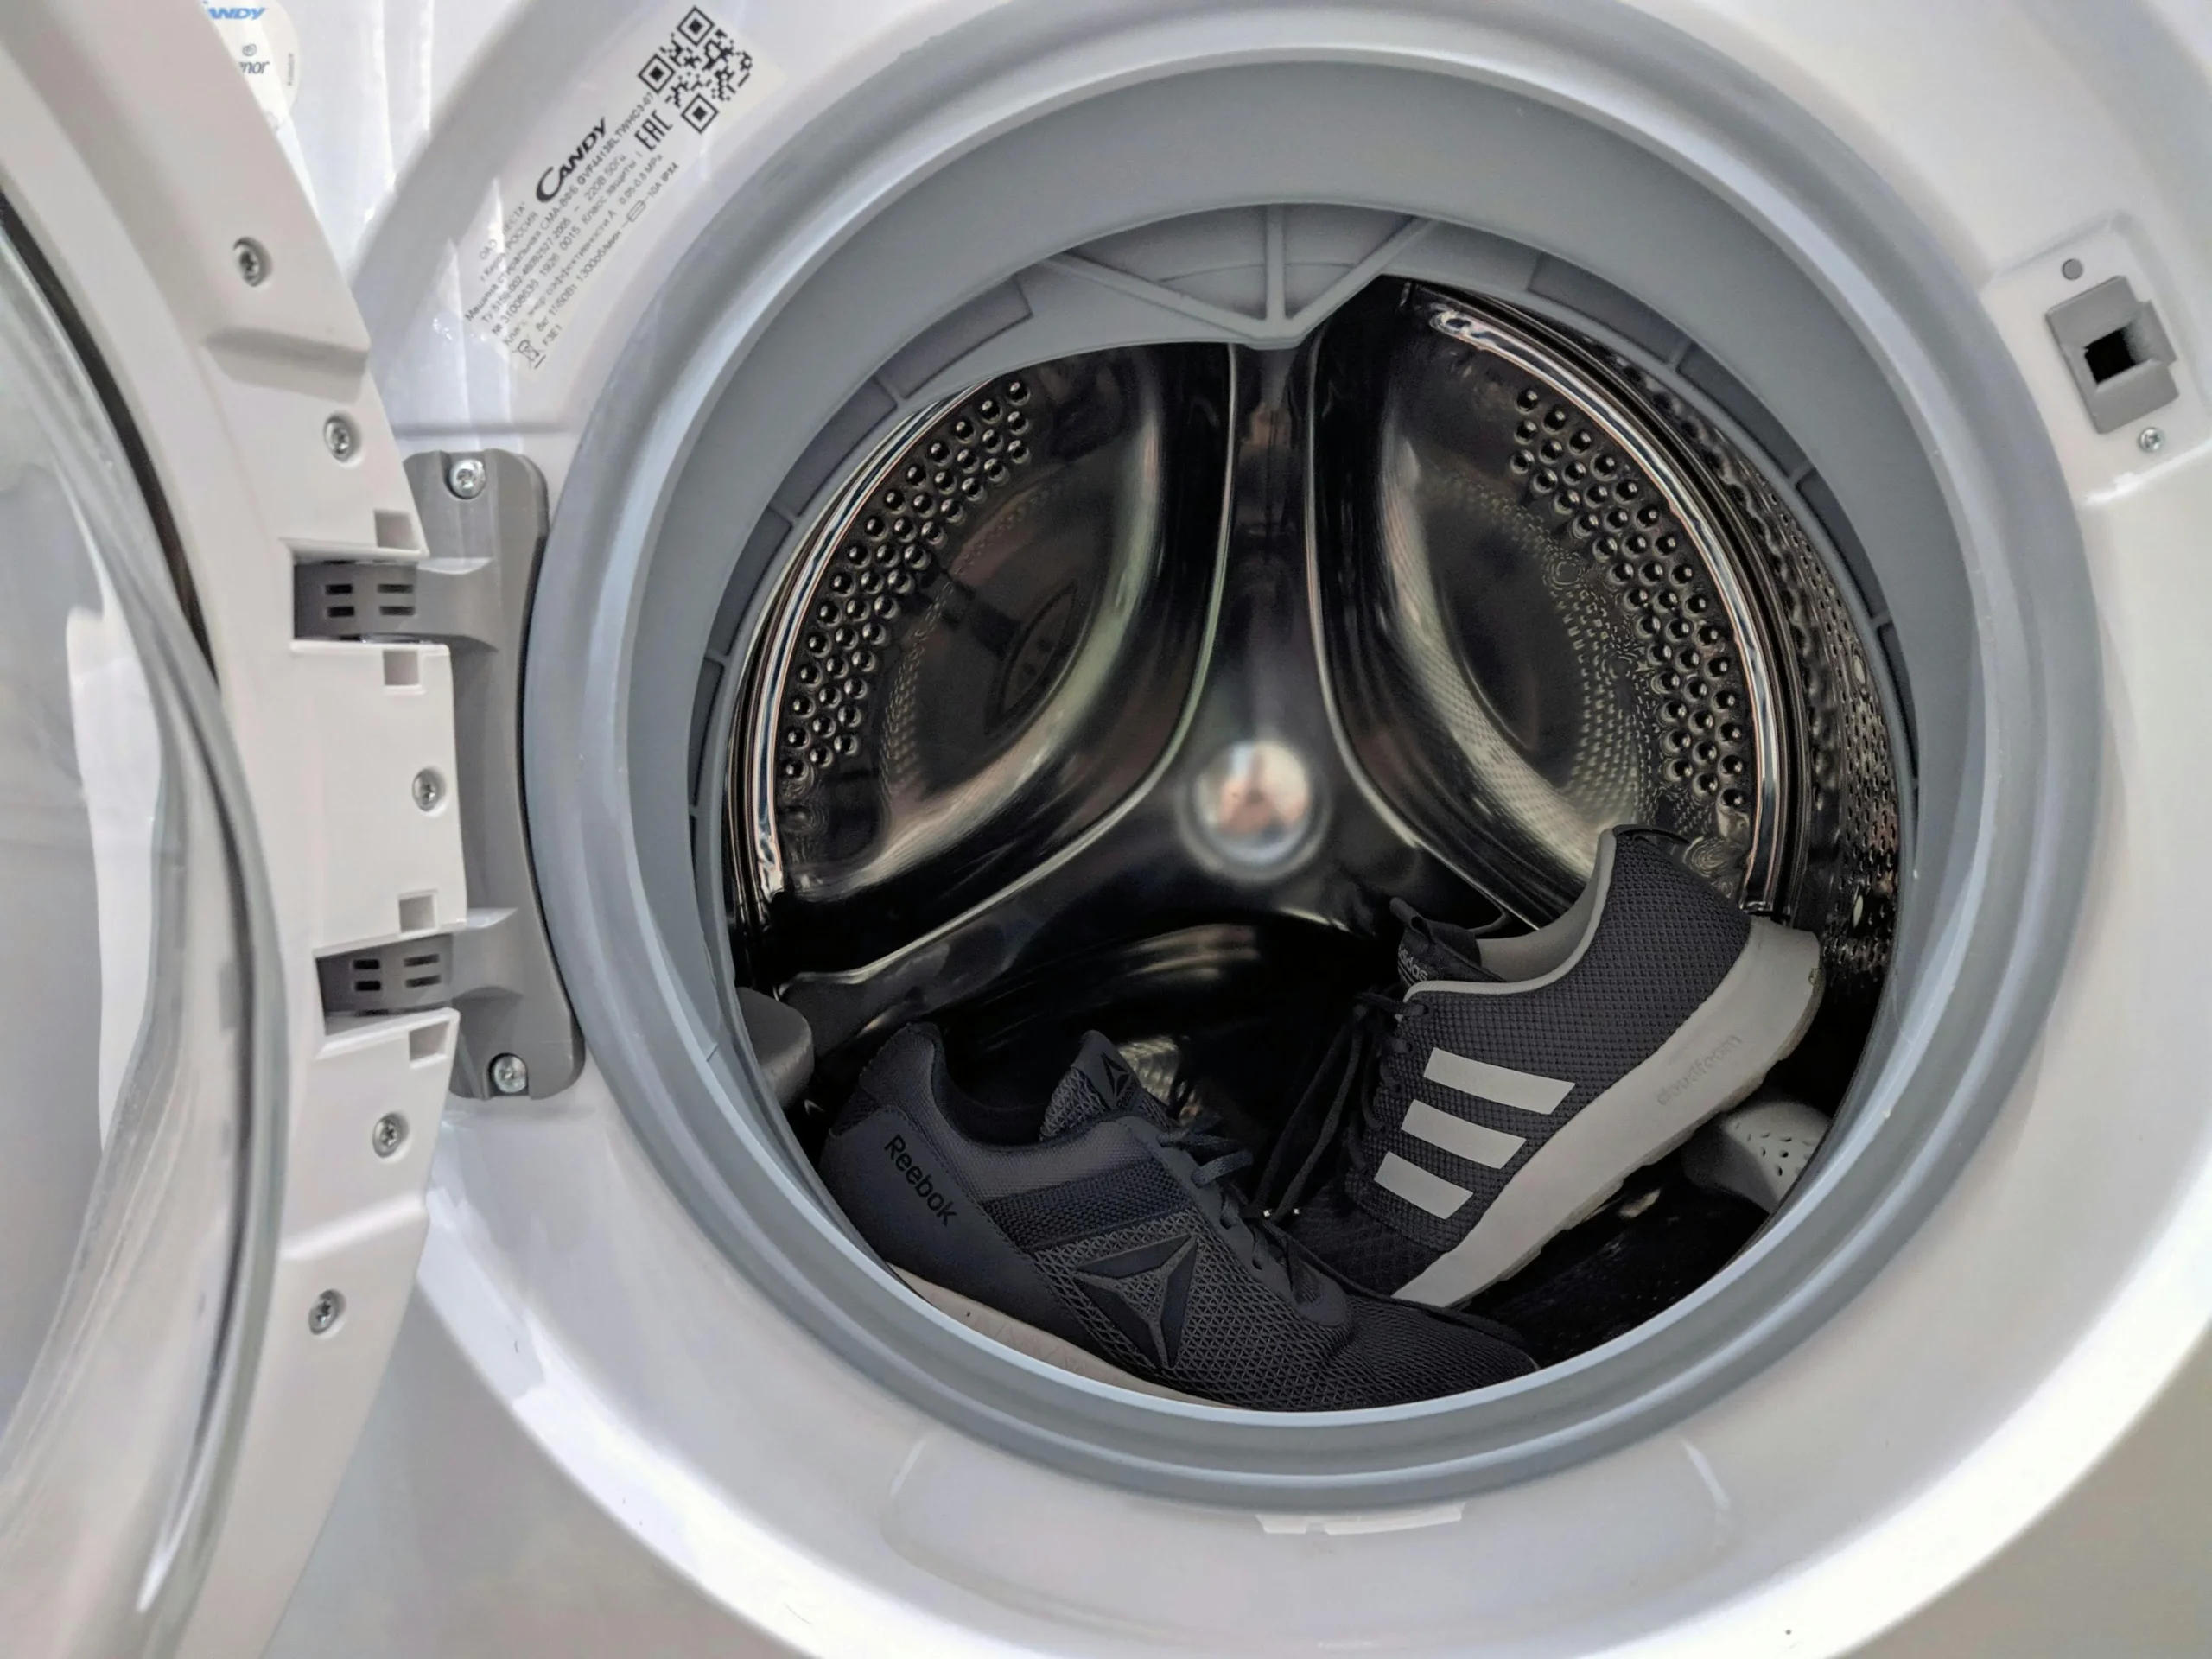
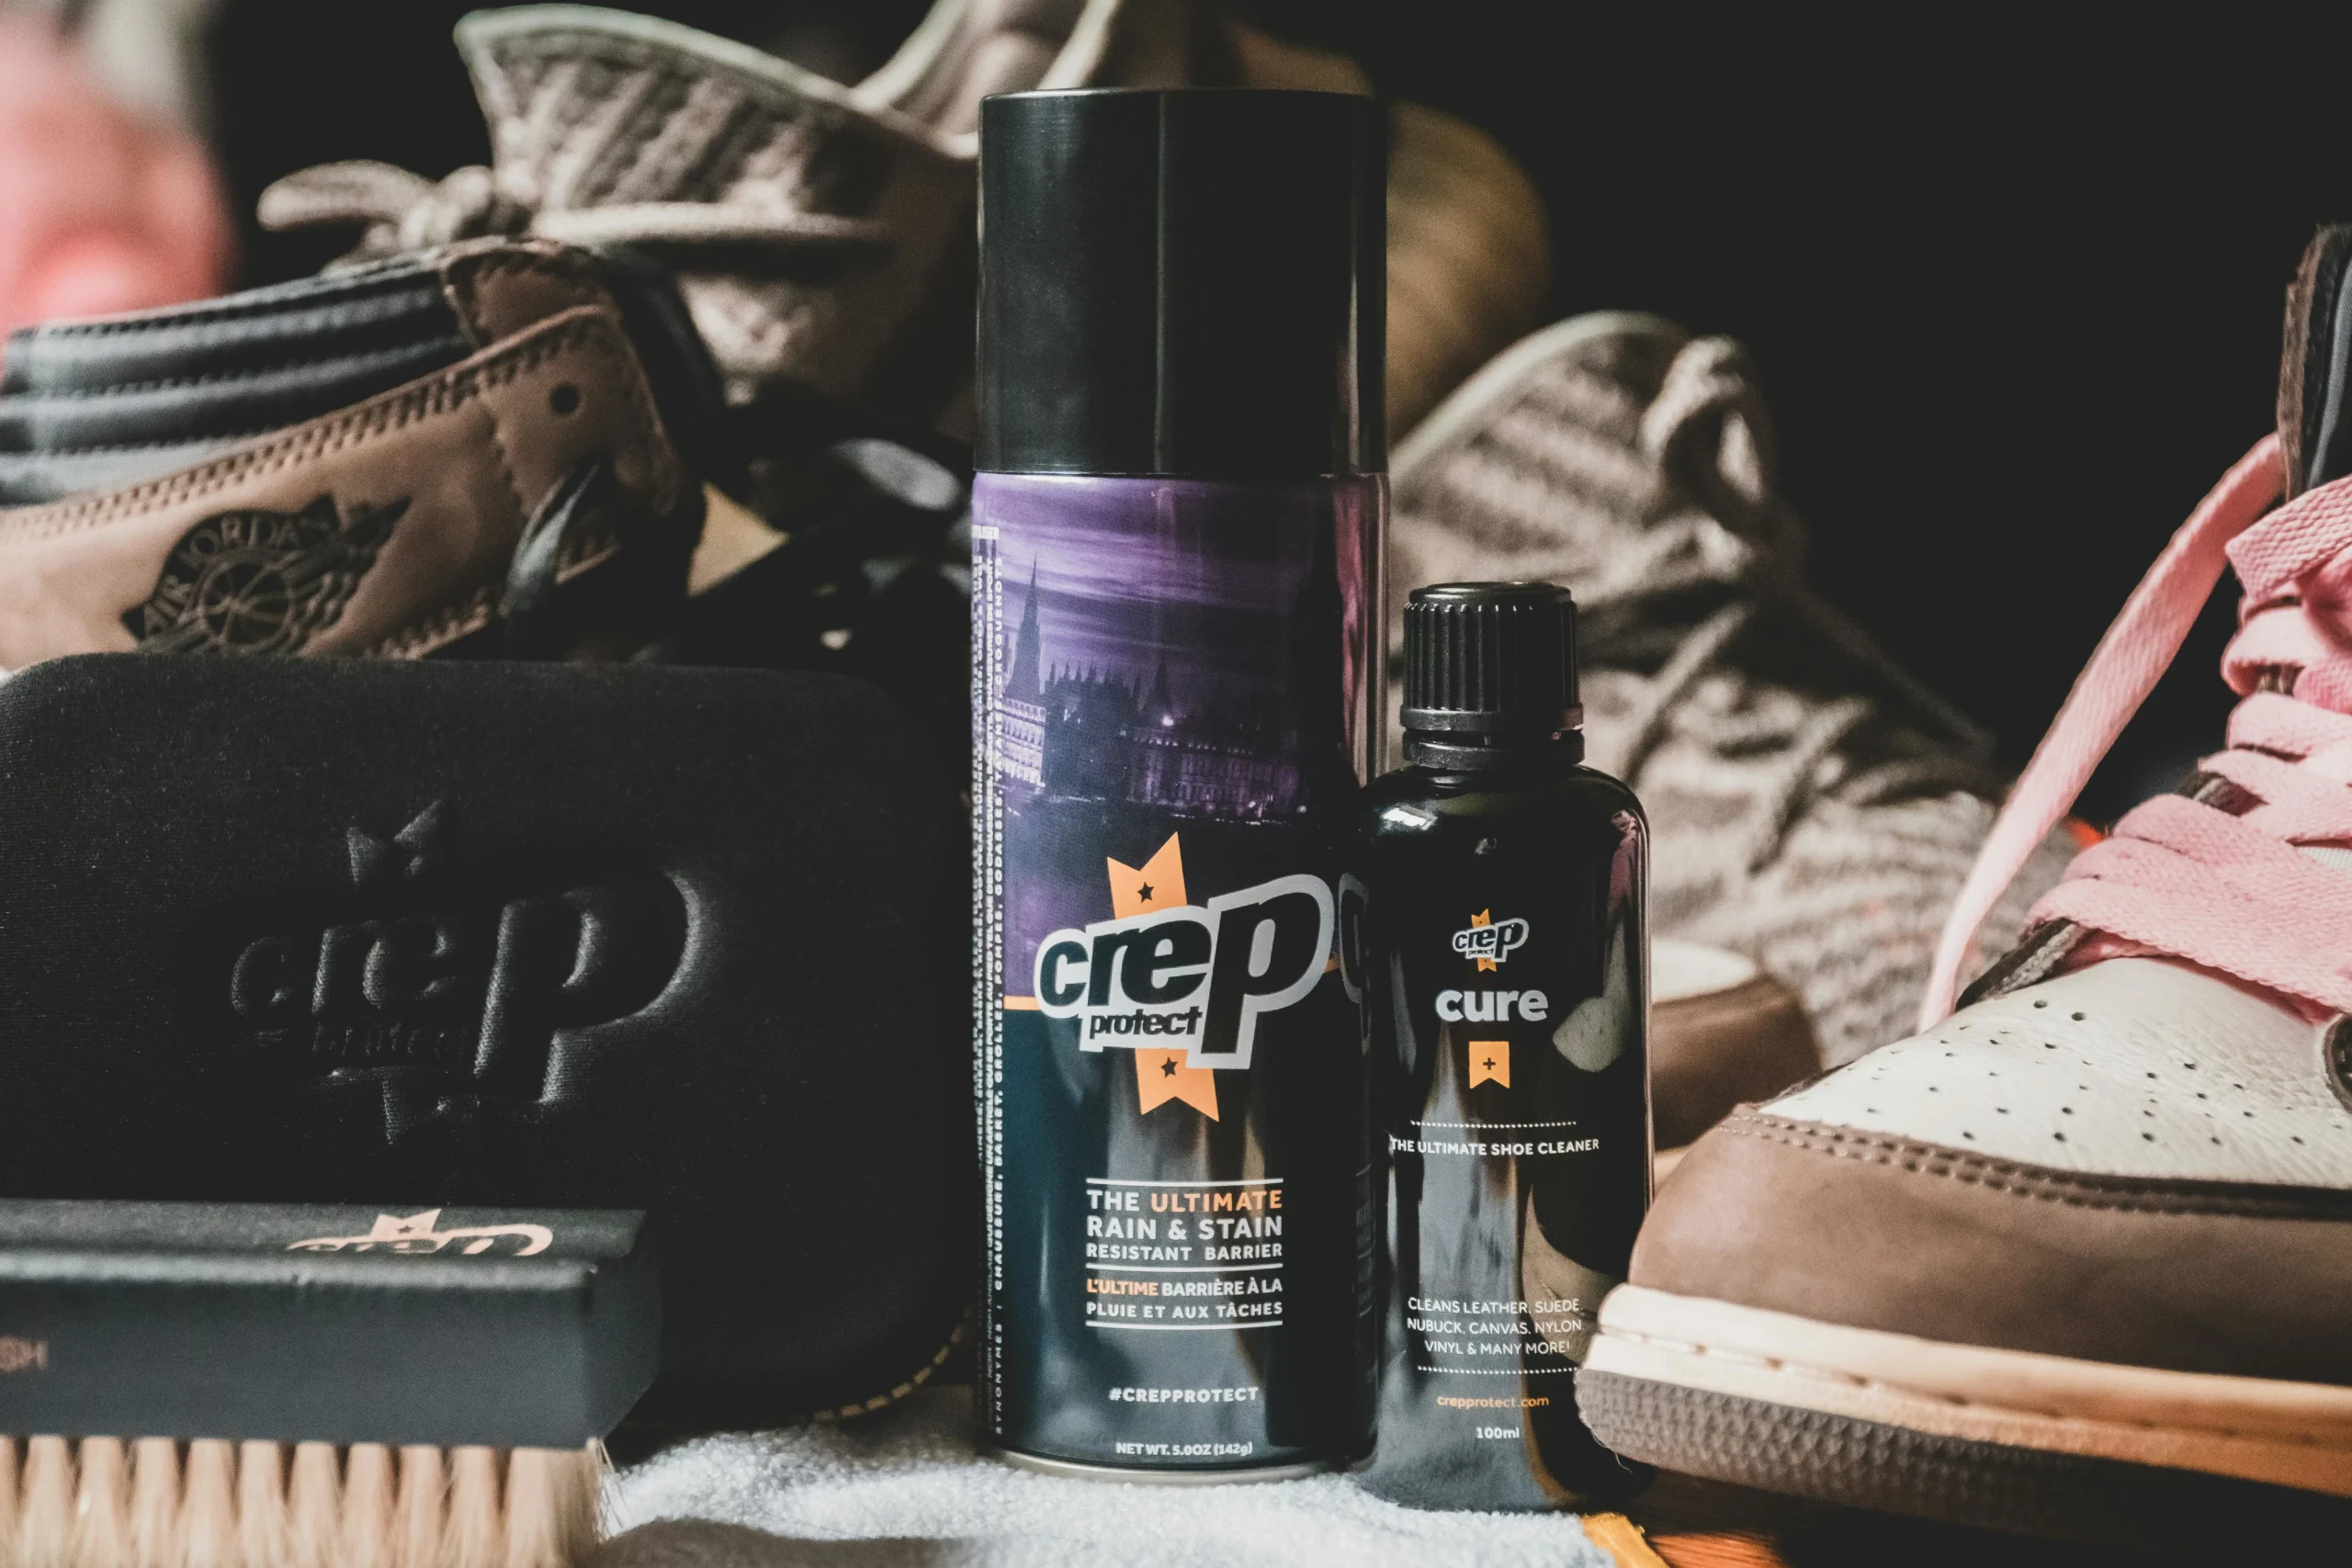
Sneakers, our faithful companions through all sorts of adventures, can get pretty dirty over time. Whether it’s from a muddy hike or a casual stroll in the park, keeping your sneakers clean is essential for maintaining their appearance and longevity. While hand washing is a popular choice, did you know that you can also clean your sneakers effectively using a washing machine? In this comprehensive guide, we’ll walk you through the step-by-step process of washing sneakers in a washing machine, ensuring they come out looking fresh and clean every time.
1. Preparing Your Sneakers
Before tossing your sneakers into the washing machine, it’s essential to prepare them properly:
Remove any excess dirt: Use a soft brush or cloth to gently brush off any loose dirt or debris from the surface of your sneakers.
Untie laces and remove insoles: Take out the shoelaces and insoles from your sneakers. This will ensure a more thorough cleaning and prevent tangling during the wash cycle.
2. Selecting the Right Washing Machine Settings
Choosing the appropriate settings on your washing machine is crucial for cleaning your sneakers without causing damage:
Use a gentle cycle: Opt for a gentle or delicate cycle to avoid agitating the sneakers too harshly.
Cold water: Wash your sneakers in cold water to prevent colors from bleeding and to preserve the integrity of the materials.
3. Choosing the Right Detergent
Selecting the right detergent is key to effectively cleaning your sneakers:
Mild detergent: Use a mild laundry detergent that is suitable for delicate fabrics. Avoid using bleach or harsh chemicals, as they can damage your sneakers.
4. Loading Your Sneakers
Properly loading your sneakers into the washing machine will ensure an even and thorough cleaning:
Place sneakers in a laundry bag: To protect your sneakers during the wash cycle, place them in a mesh laundry bag or pillowcase.
Add towels: Adding a few towels to the load can help balance the machine and prevent your sneakers from banging around during the wash cycle.
5. Running the Wash Cycle
Now that your sneakers are loaded into the washing machine, it’s time to start the wash cycle:
Start the machine: Close the washing machine lid and start the cycle according to the settings you’ve chosen.
Monitor the cycle: Keep an eye on the machine throughout the cycle to ensure that everything is running smoothly.
6. Drying Your Sneakers
After the wash cycle is complete, it’s essential to dry your sneakers properly to prevent any damage:
Air dry: Remove your sneakers from the washing machine and let them air dry naturally. Avoid using a dryer, as high heat can warp the materials and cause damage.
With these simple steps, you can effectively wash your sneakers in a washing machine, keeping them looking fresh and clean for all your adventures ahead. By following the proper preparation, selecting the right settings, and drying them carefully, you can ensure that your favorite pair of sneakers remains in top condition for years to come. So go ahead, give your sneakers the TLC they deserve, and step out with confidence on your next journey!


