

Every night before bed, I spend just five minutes cleaning my sneakers. This small habit keeps them looking fresh and ready for the next day. I only use a sneakers cleaning kit, and that’s all I need.
The good news is you don’t need fancy tools or special skills. Just a regular sneakers cleaning kit will do the trick. Anyone can follow this routine, no matter their age or sneaker style. Let me walk you through each step I follow. It’s easy to do, saves time in the long run, and helps your sneakers last much longer.
Get Your Cleaning Kit Ready
The first thing I do is get my sneakers cleaning kit together. I keep it all in one box so I can grab it quickly. Inside, I have a soft brush, a microfiber towel, a small bottle of cleaning solution, and a sneaker eraser for scuff marks. Everything I need is right there.
Having your tools in one place makes a big difference. If I had to look for the brush or the towel every night, I’d probably skip the routine. So, I keep my kit near the door or under the sink for easy access. Even if I’m tired after a long day, having the kit ready helps me stick to the routine. I don’t waste time, and it keeps things simple. A ready kit turns a chore into something quick and easy.
I also make sure my tools are clean. If the towel is too dirty, I wash it once a week. The brush stays good for months if used gently. This way, my sneakers get cleaned properly every time. Starting with the right tool set sets the tone for the rest of the cleaning. It also helps me stay focused and get through the routine in just five minutes.
Brush Off Loose Dirt
Now that the kit is ready, I start by brushing off any loose dirt. I take the sneakers soft brush and gently go over the sneaker’s upper, sole, and sides. It doesn’t take long, but it helps remove surface dust and makes deep cleaning easier.
This step is important because if you don’t remove the dirt first, it can smear when you use the cleaning solution. That could make your sneakers look worse instead of better. A quick dry brush removes most of the mess.
I usually brush over a towel or do it outside to avoid making a mess indoors. If the sneakers are very dirty, I spend a little more time on them. But even on clean days, I don’t skip this step. I also brush around the lace holes, heel, and toe area. These spots collect dirt fast. It’s easy to miss them, but taking a few extra seconds makes a big difference in the final look.
Apply Cleaning Solution and Scrub
After brushing, I apply a small amount of cleaning solution to the brush. I dip just the tip of the brush into water, add a few drops of cleaner, and begin scrubbing gently in circular motions. This helps lift dirt and stains from the sneaker’s surface.
I start with one shoe at a time. I clean the top, sides, and even the midsole using gentle pressure. It’s important not to soak the shoe; a small amount of cleaner is more than enough. Too much water can damage the material or loosen the glue. Some areas, like the toe or the back of the heel, need more scrubbing. I focus on those parts without rushing. The cleaning foam starts to lift the dirt quickly, and in just a couple of minutes, the shoes start to look much better.
Wipe Off Foam and Dirt
Once the scrubbing is done, I grab the microfiber towel and start wiping away the foam and loosened dirt. This step is quick but makes a big difference in how clean the sneakers look. I fold the towel to use a clean side for each sneaker. That way, I don’t smear dirt from one shoe to the other. I wipe in small circles to pick up all the leftover cleaner and dirt.
If the sneakers are still damp, I go over them again with a dry part of the towel. This helps absorb extra moisture and leaves a nice clean finish. I don’t use paper towels; they can leave fuzz behind. Wiping also lets me check if I missed any spots. If I see a stain left behind, I quickly go over it again with the brush. This way, I’m sure my sneakers are fully clean before I move to the next step.
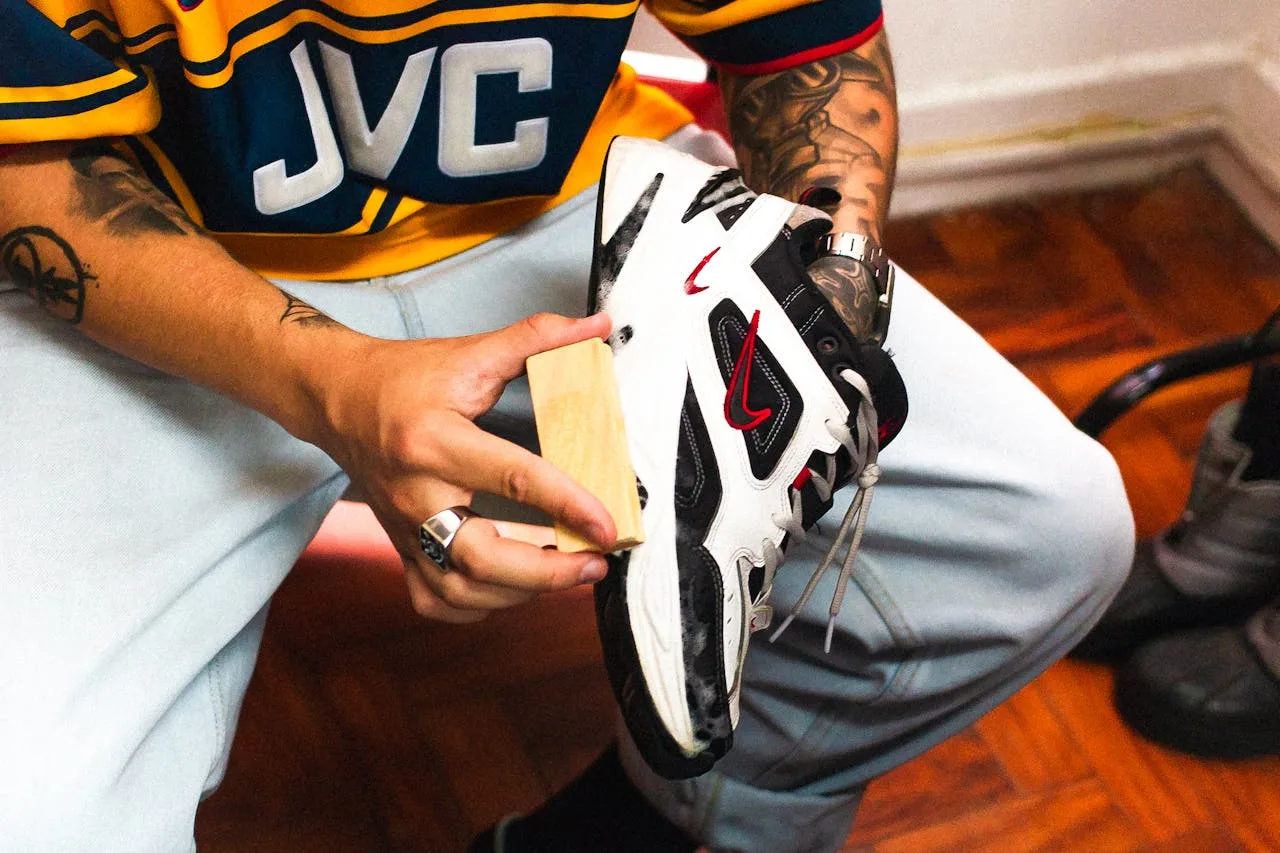
Use the Eraser for Tough Marks
Sometimes, even after cleaning, there are stubborn marks or scuffs. That’s when I use the sneaker eraser from my kit. It’s a small tool, but it works well on leather and rubber surfaces. I rub the eraser gently over the scuff until it fades away. It doesn’t take much pressure, and I never press too hard. Just a few soft strokes and the mark usually disappears.
This tool is helpful on white sneakers, where every little mark stands out. I use it mostly on the midsoles and toe caps, which get dirty easily during the day. I don’t use the eraser every night, only when I notice marks that cleaning doesn’t fix. It’s a small extra step that takes about 30 seconds but makes a big difference in the overall look.
Adding this step has helped me keep older sneakers looking newer for longer. It’s a simple tool, but very effective.
Let Sneakers Dry Overnight
The last step is letting my sneakers dry. I place them in a cool, dry spot with good airflow. I avoid putting them near heaters or in direct sunlight, as that can damage the fabric or cause fading. If the sneakers feel damp, I stuff them with paper towels to help absorb extra moisture and maintain their shape. This also helps prevent any bad smells from building up overnight.
I make sure to set them apart so air can move around each shoe. They usually dry fully by morning, and I can wear them again without worry. I don’t use blow dryers or heaters because they can warp the shoe or weaken the glue. Letting them air dry naturally is always the safest option.
This drying step takes no extra effort; it just finishes off the routine. In the morning, I wake up to clean, dry sneakers ready to go.
Why I Keep Doing This Every Night
Cleaning my sneakers for five minutes each night saves me from big weekend cleanups. Instead of waiting for them to get super dirty, I just handle it daily. It’s faster, easier, and keeps my sneakers looking great all the time.
This routine works for all kinds of sneakers, leather, knit, canvas, or mesh. I don’t have to change anything because my sneakers cleaning kit works on all of them. Doing this every night also helps my sneakers last longer. The soles stay strong, the colors don’t fade, and the material holds up better. That means I don’t need to buy new shoes as often.
Making it a habit has been the key. It feels simple now, and I enjoy it. Seeing my sneakers clean and ready in the morning feels rewarding. If you love your sneakers and want to keep them fresh without much work, this five-minute nightly routine is all you need.


